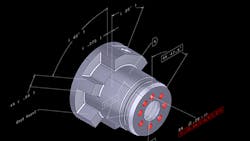
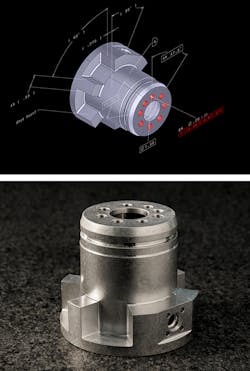
ISO STEP File Lets CAD Programs Share Smart Files
Computer experts at the National Institute of Standards (NIST) are working on a way to let 3D models include product and manufacturing data that will be readable by all CAD system. They hope the project, dubbed the Design to Manufacturing and Inspection Project, will show that standardized 3D models can contain information starting at the design phase and going through inspection of the final part, a string of activities manufacturers are calling a “digital thread.” Embedding data and instructions computers can understand and process, is expected to reduce cycle times, costs, and duplication of effort, lower the risk of errors, and increase part yields and quality.
NIST researchers are using STEP AP 242, a standard released last year by the International Organization for Standards (ISO). It lets CAD applications save files from their native format to a universal one. The STEP file can then be opened by different CAD applications and converted to that’s program native file format. However, AP 242 differs from other STEP files because it retains geometric and dimensional tolerance information, as well as actionable specifications for materials, surface texture, process notes, finish requirements, and other information. Current STEP files only provide a “dummy” solid which contain no manufacturing information.
In the NIST project, Rockwell Collins will generate 3D design data, save it as a STEP AP 242 file, and send it to Geater Machining and Manufacturing, an aerospace supplier in Independence, Iowa. Once Geater receives the STEP file, they will let their computer use AP 242 to generate code that will direct a coordinate measuring machine to make the inspection measurements that determine if the part has been manufactured as designed, all without human intervention.
"Three-D model-based engineering is an important step toward 'smart' manufacturing systems," says NIST systems analyst Allison Barnard Feeney, leader of the project. "These systems will need to be autonomous, self-aware and self-correcting. At the same time, they must work harmoniously with human supervision and collaboration."
A full-scale demonstration of the standard’s end-to-end interoperability is expected by this summer. In follow-on work, NIST will focus on strengthening and extending the digital thread to link more manufacturing-related activities such as assembly, bidding, engineering changes, in-process inspection, visualization, and collaboration.

