How I 3D printed my face onto a sphinx, and how you can too
Our esteemed colleague Lindsey Frick got the Afinia up and running in a spare cubicle yesterday, so our executive editor Lee Teschler told me I should take the machine for a test drive by scanning and printing my own head. I argued that because his head was an executive-editor head, it was decidedly more important, so should be the one scanned. He disagreed and insisted that I be the victim.
With that settled, we looked into borrowing a Microsoft Kinect from someone. (Click here for a review of how Kinects can scan 3D objects for subsequent printing.) However, that approach wasn’t going to give us the instant satisfaction we wanted.
Used Kinect bars on eBay only run about $35 but we didn’t want to wait a week for delivery.
My only other low-cost source of a Kinect, my video-game-loving little cousin Mike, is still at college and too far to drop off the device for a quick borrow.
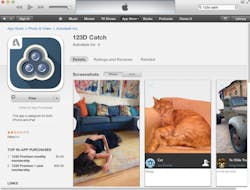
Instead, we located a 3D-scanning app from Autodesk in iTunes — a free app called 123D Catch that lets users scan objects and people in 3D with a normal digital camera or iPhone. In short, the user walks around the object to be 3D scanned and takes pictures at 20 to 40 angles until all sides of the object are photographed. Then the software stitches the images together and makes 3D-model files out of the mesh. Because we had both $0 and several iPhones on our persons, the 123D Catch tool seemed perfect for us.
I downloaded the app onto my phone and then went to Lee’s office for an unprecedented [Read: Awkward and funny] experience: I knelt by his desk while he walked around me with my phone, taking extreme close-up pictures of my head at various angles from within the 123D Catch app. Coworkers walking by were compelled to stand at the door and observe. Mortification ensued.
Next, I got on my laptop and accessed the link to clean up the model and export it. (Strangely, this was the only way I figured out how to access my model. Even logged into 123dapp.com, I couldn’t find the model without the deep URL.)
This is also where 123D Catch hit another snag.
The 3D model editor in Catch took all functions on my laptop to a slow crawl and failed to load my model.
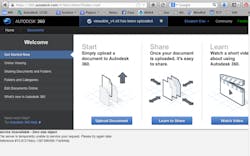
I tried other online tools — even at 360.autodesk.com and more — to no avail.That’s when I gave up, downloaded the .STL file of my head model, and decided to hunt down a free and open-source program with a reputation for being good for editing .STL files.
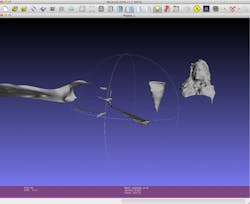
First I tried meshlab. It’s a snazzy little program, but at this point I’d started to dream of a bigger and more ambitious thing to print, and meshlab didn’t have the editing tools for me to execute my evil plan.
More specifically, the thought occurred to me that I should put my face on a sphinx and print that.
So, I did some more hunting and found Blender, a free download with modeling and graphics-shaping tools so useful that it put a little tear in my eye.
12 more seconds of arduous Googling yielded a free .STL file of a sphinx at Thingaverse. Bless your heart, Nr5Alive!
Then came the importing of both the .STL of my head and the .STL of the sphinx into Blender.
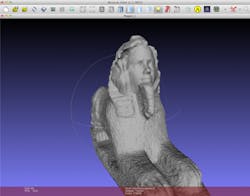
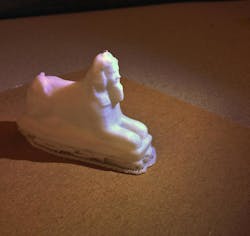
I edited them both, joined them together, and deleted what’s called “non-manifold” debris (Shift+Alt+Control+M then delete) — bits and surfaces that compromise the "airtight" nature of the file, which is a no-no. This editing/joining/deleting process took about three hours, but that’s because Blender is a powerful piece of software with a moderately step learning curve, and this was my first experience with it. Poof — a ridiculous creature with my face is born!
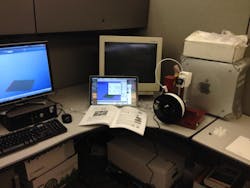
Next, I downloaded the Afinia driver to my laptop, took my laptop to the cube where Lindsey set the Afinia up, and connected the laptop to the printer with a normal USB cable. Then I imported the edited .STL file I exported out of Blender into the Afinia software. After checking a few settings, I pressed Print and got this two hours later. Fairly easy, even for a total newbie.
Next up: Stay tuned for a followup entry, when I get my hands on my cousin's Kinect and report on its scanning abilities.
About the Author
Elisabeth Eitel Blog
Elisabeth is Senior Editor of Machine Design magazine. She has a B.S. in Mechanical Engineering from Fenn College at Cleveland State University. Over the last decade, Elisabeth has worked as a technical writer — most recently as Chief Editor of Motion System Design magazine.
