Essential Equipment for Your Filament-Based 3D Printer
Download this article in PDF format.
3D printers require a lot of support. They need gadgets and tools and of course, consumables. If you are using a fused deposition type of printer, the type that uses spools of filament, then there are a few essentials that you must procure for your toolbox. The items listed below are indispensable. Without them, you will be struggling and very likely using the wrong tools for the job.
BuidlTak
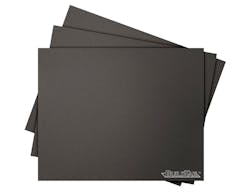
BuildTak is the best all-purpose build surface that you can get. It sometimes gets a bad rap because it really holds onto prints. BuildTak does have some very real holding power. However, prints that are hard to remove are preferable to prints that remove themselves. Especially while still being printed.
BuildTak is pricey, but with some care, it can be used over and over again. Even if small pieces have been torn or ripped off completely, it will still hold. Just make sure that the raft is wide enough to anchor itself past the damaged parts of the sheet.
Air-Tight Containers
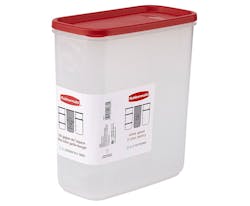
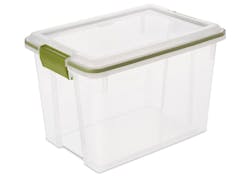
You will need containers to store your filament to keep it from absorbing moisture from the air. Print quality will degrade in proportion to the amount of water taken on by the filament. Unless you are burning through rolls of material very quickly, you will need to store them properly, so they don’t go to waste. Finding a truly airtight container may be difficult and expensive, so something that is very nearly airtight will do.
Desiccant
To make the perfect storage environment for your filament, you need more than airtight boxes. You will also need desiccant. It will grab moisture before it gets to your precious filament and it will slowly draw any out that has already been absorbed.
Print-Removal Tools
After a print is finished, tools are typically needed to get it off of the bed. This is especially true if you already took our advice and started using BuildTak.
Hobby Knife and Blades
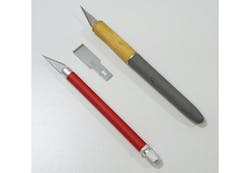
A razor-sharp blade is essential for cleaning up prints. Always keep a few blade holders on hand for different blade types. Most tasks can be handled with a #2 or a #24 type blade. A #18 type blade is very useful for removing rafts from the bottoms of prints.
Needle-Nose Pliers
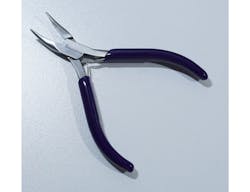
Another excellent tool for cleaning up prints is a small pair of needle-nose pliers. Sometimes pliers are the only way to remove support material from a hole. A bent tip is preferable for getting into hard-to-reach areas.
A Flashlight
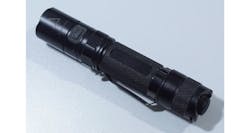
Sometimes it is really hard to tell how your print is doing. Especially if your printer is in an enclosure. The only way to really check if everything is going as planned is with a flashlight.
A keychain light probably won’t be bright enough. Something in the 200-lumen range will usually do the job. Don’t go crazy and get one of those 2500-lumen handheld supernovas. It’s way more than you need and you run the risk of setting your print on fire while you blind yourself with reflected light.
A Caliper
A precision measuring device is the only way to check if your parts are dimensionally accurate. You can download and print test cubes and other diagnostic models, but you still need a yardstick to compare them to.
Leaf Gauges
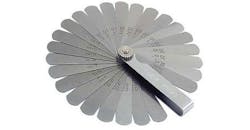
Before anything else can be blamed for poor print-to-bed adhesion, the nozzle gap must be accurately set. Maybe the cheapest and fastest way to measure the gap between the nozzle and the bed is with a feeler gauge. A set is inexpensive and worth keeping in your printing toolkit.
Scotch-Brite Pads
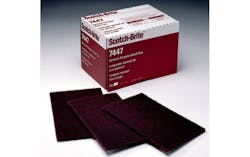
As you use your printer, plastic will build up on the nozzle. This accumulation is an obstruction to quality printing, and sometimes it can begin to burn. Scotch-Brite pads work very well to clean this off.
Cyanoacrylate Glue (aka Super Glue)
In some cases, a print just won’t come out right when printed as one piece. For these stubborn parts, a very useful technique is to break the model up into two or more interlocking pieces. These smaller sections will warp less, and can subsequently be glued together.
Left off this list are the tools that would either come with a printer, or an individual would probably already have on hand, such as a hammer, screwdrivers, and hex keys.
This list is not comprehensive. If it were, it would be four times as long and include plans for a heated printer enclosure. Rather, listed here are the tools and accessories that will make life easier for the 3D-printer operator.
About the Author
Cabe Atwell
Engineer, Machinist, Maker, Writer. A graduate Electrical Engineer actively plying his expertise in the industry and at his company, Gunhead. When not designing/building, he creates a steady torrent of projects and content in the media world. Many of his projects and articles are online at element14 & SolidSmack, industry-focused work at EETimes & EDN, and offbeat articles at Make Magazine. Currently, you can find him hosting webinars and contributing to Penton’s Electronic Design and Machine Design.
